Recent Posts
-
How To Build Your Co...
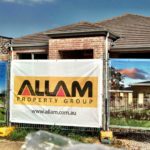
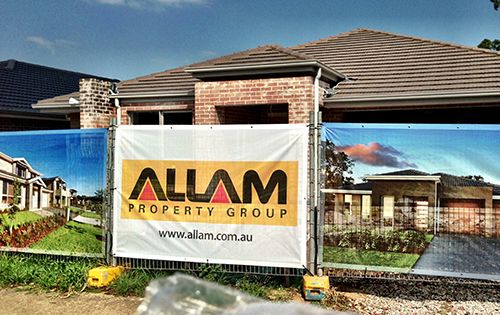
With the right artwork, branded banners have th...28 February 2022
-

Why OHS procedures o...
In the wake of two building site accidents last...21 February 2022

Your beautifully printed banner mesh has cost you a bit of money but is now all set to repay you in conveying your message – you just need to install it. Installing banners on fencing is usually a fairly simple task if you know some basic tips and the cornerstone of those tips is tension. A banner that is crooked, sagging or flapping in the breeze can be more damaging than helpful, displaying a lack of care and sloppiness.
Here are some simple tips to ensure you get the best visual result from your next installation:
This is a great time-lapse video showcasing the installation of a mesh banner at Leichhardt Park Aquatic Centre in Sydney’s Inner West.
At Mesh Direct, we can provide a professional installer to do the job for you if you prefer. Please see our installation service page for more details or contact us on 1300 368 978 or visit www.meshdirect.com.au/get-a-quote/.
28February
With the right artwork, branded banners have the ability to build your construction business and dri
Read More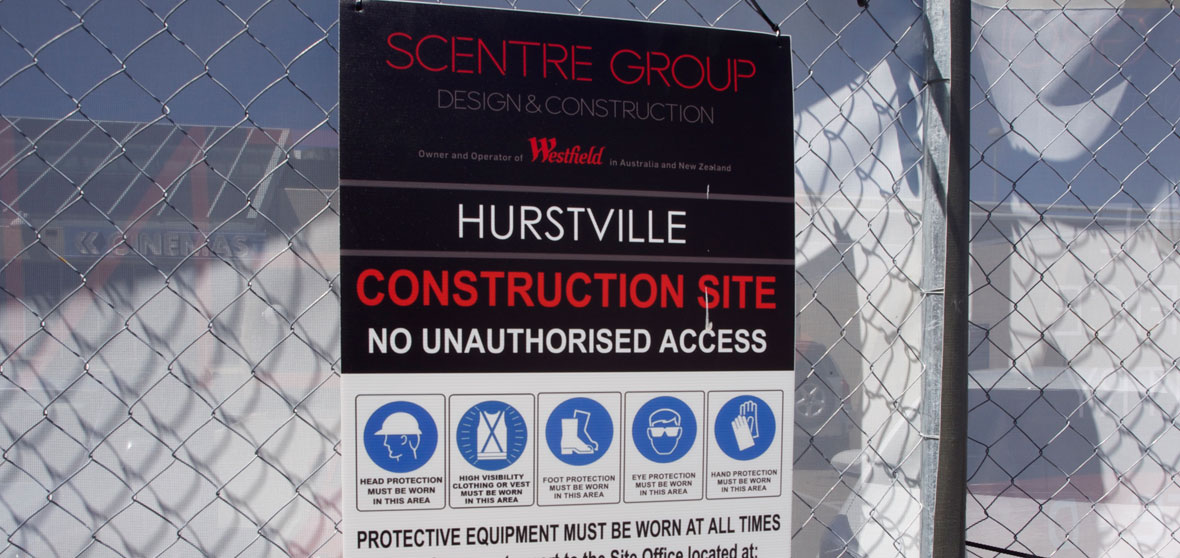
21February
In the wake of two building site accidents last week during Sydney’s wild wind storms, the imp
Read More
14August
As experts in grand format printing, we’re well aware that the search for your signage solutio
Read More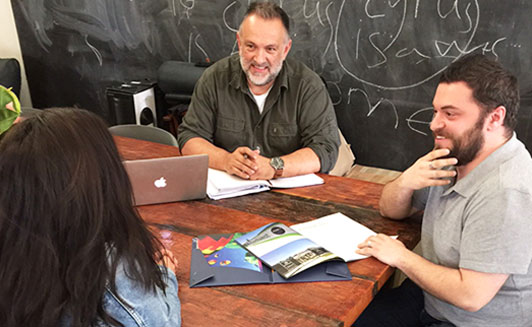
26July
While our main point of focus here at Mesh Direct is the presentation of your construction site itse
Read More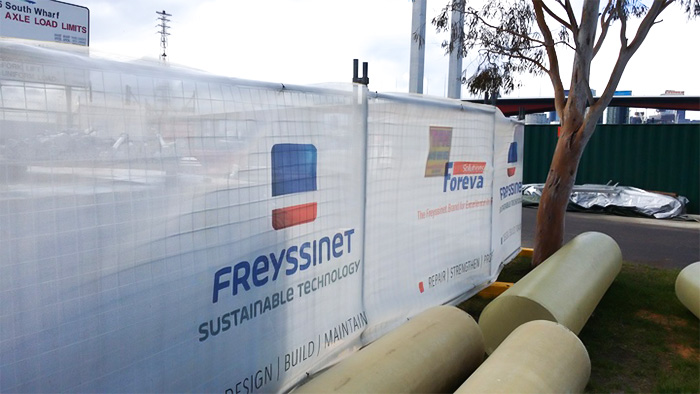
17July
This post delves into the affordable and practical nature of Printed Shade Cloth at Mesh Direct. Whe
Read More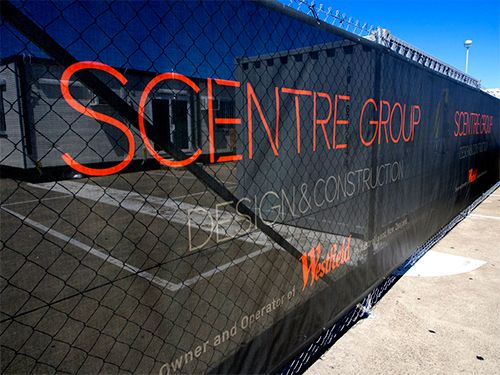
03July
When it comes to mesh banners and printed signage options, identifying the right material for your b
Read More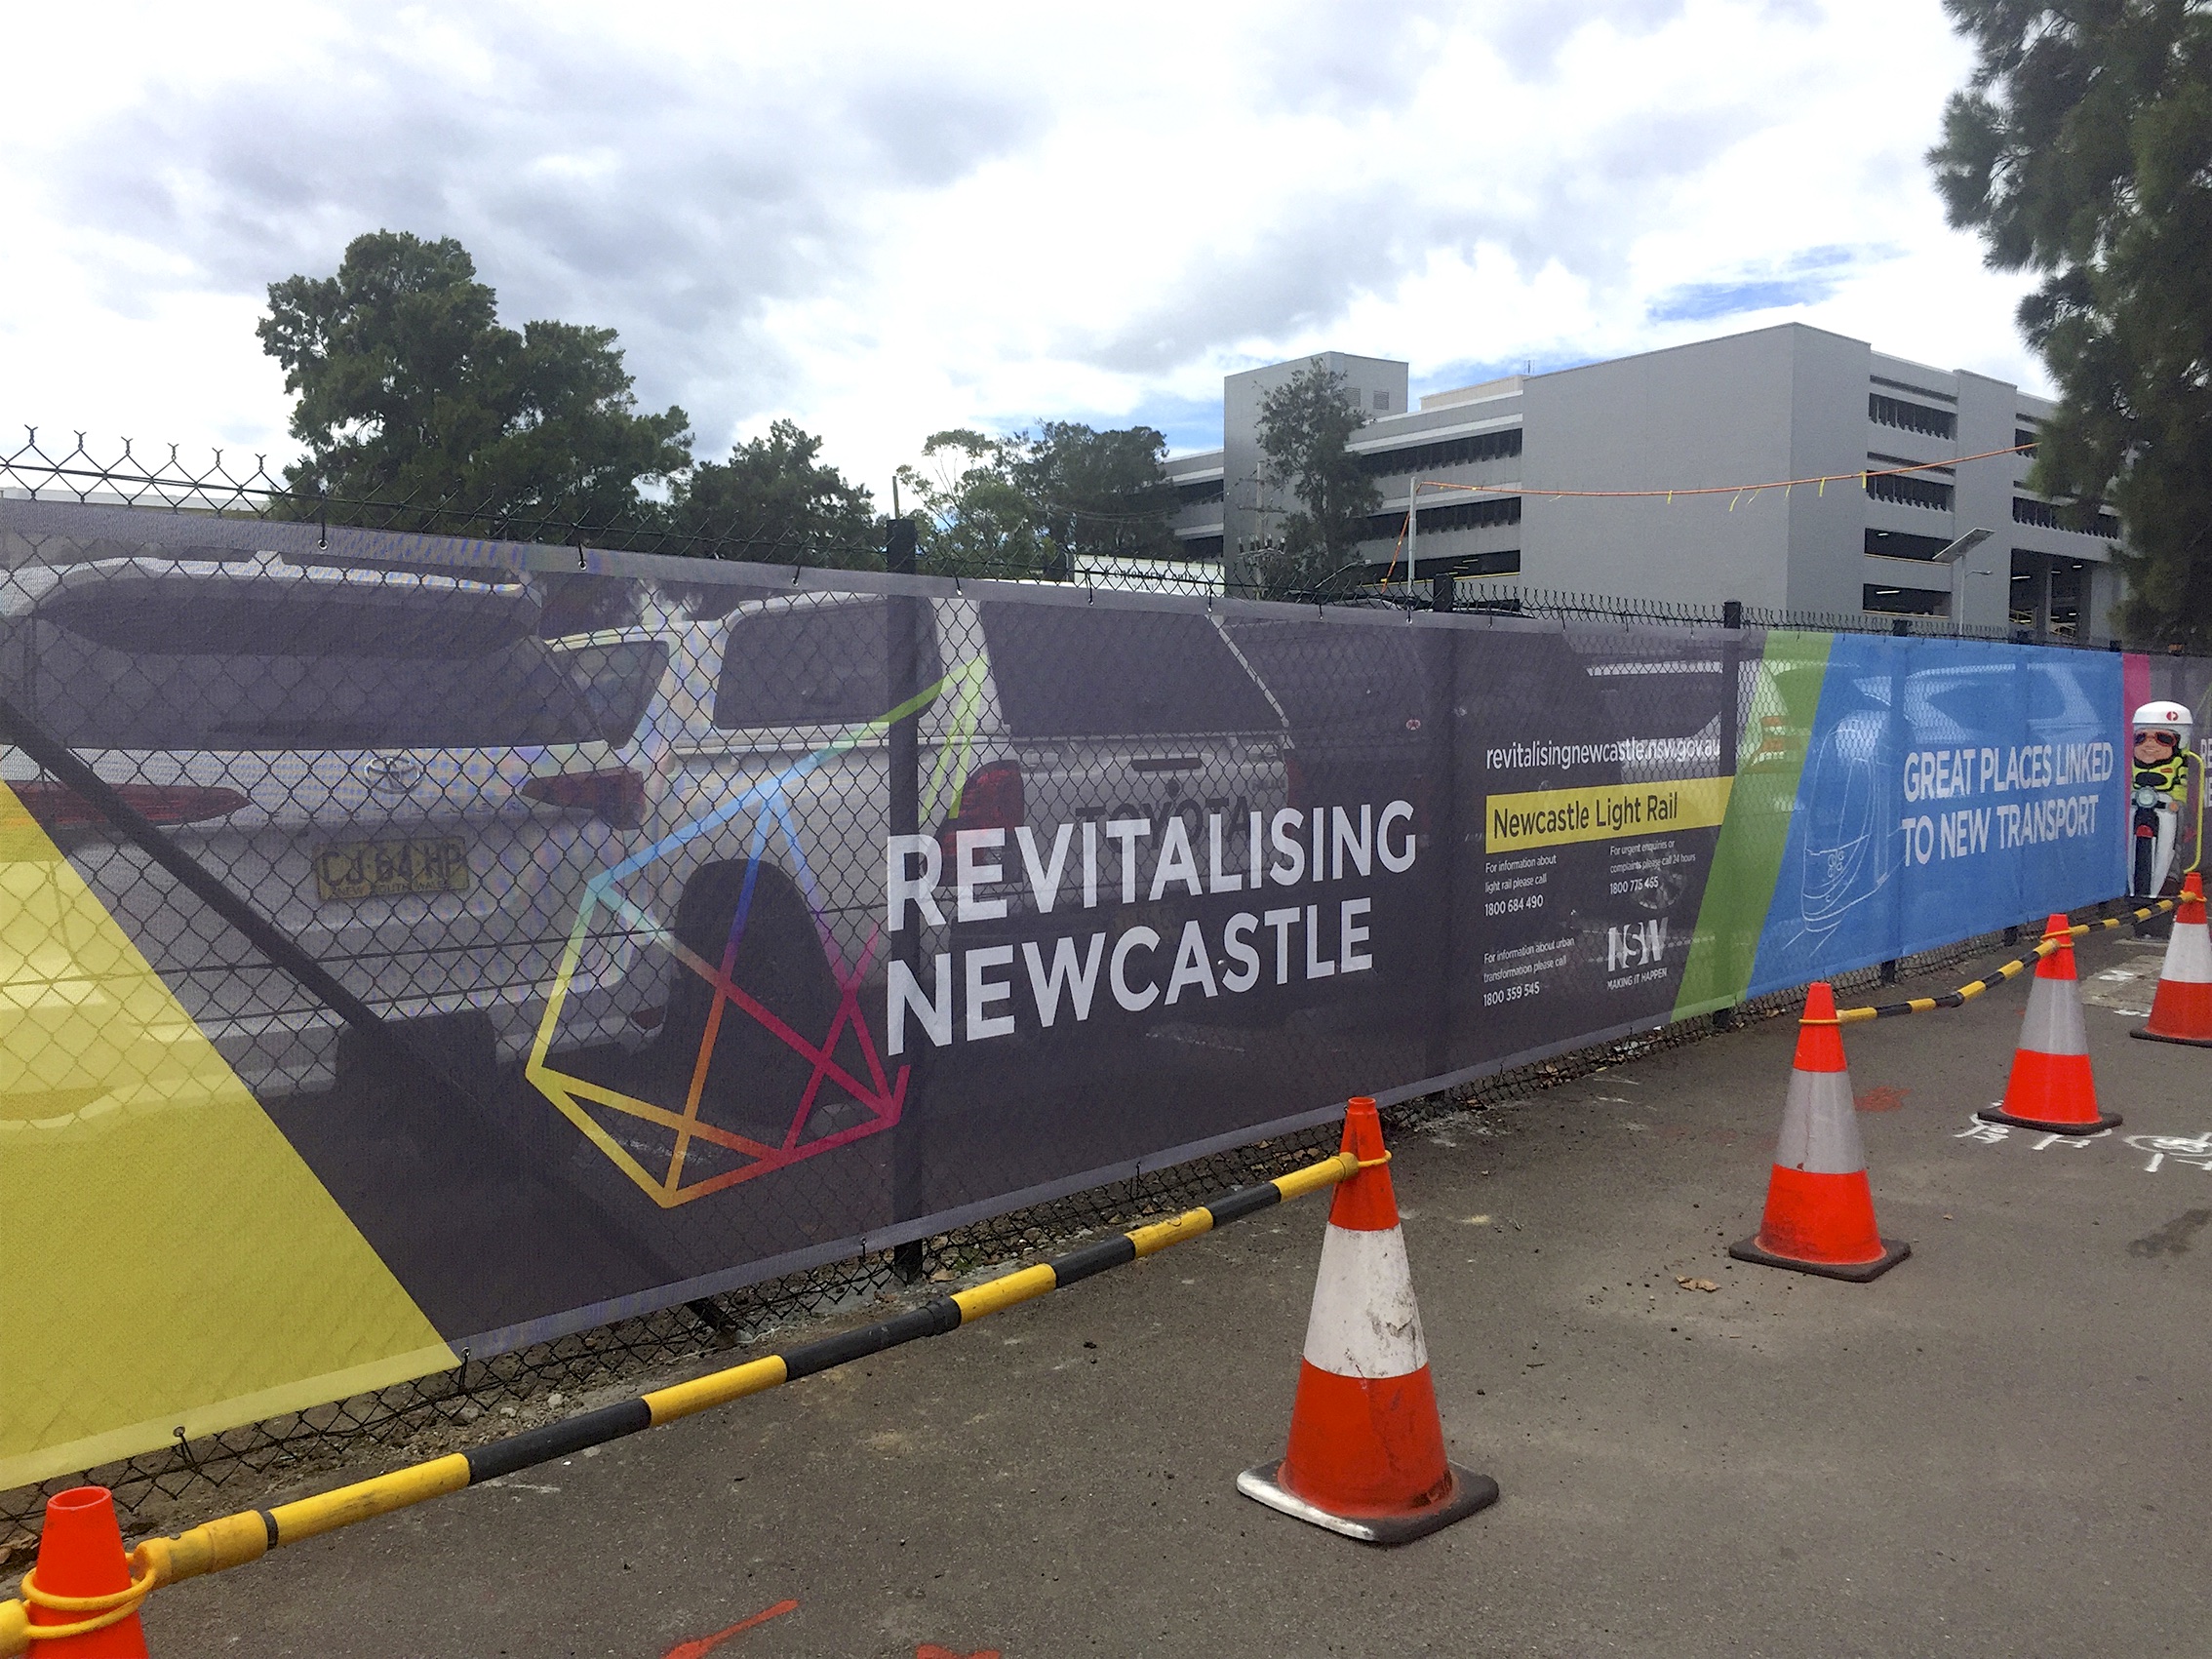
19June
We’re passionate about premium mesh banner products and signage solutions. However, in order f
Read More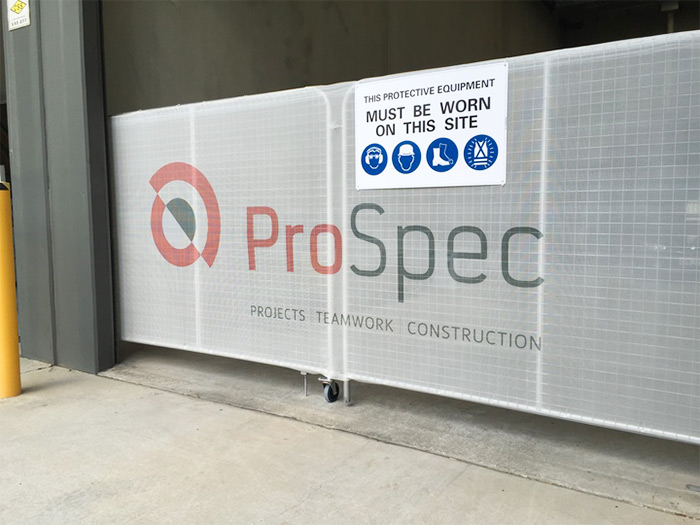
05June
Here at Mesh Direct, we understand that the terminology associated with grand format printing can ge
Read More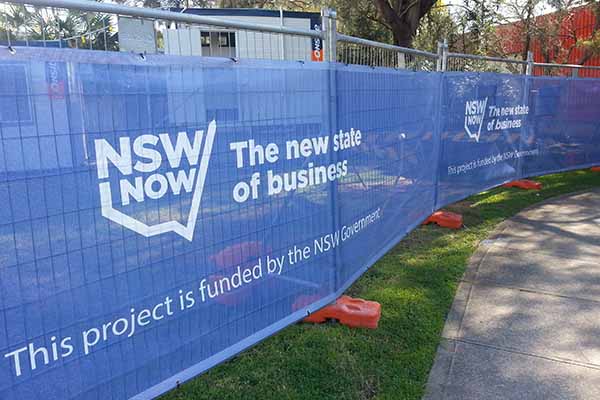
22May
Here at Mesh Direct we get a lot of questions about the benefits of advertising with printed banners
Read MoreWith the right artwork, branded banners have th...28 February 2022
In the wake of two building site accidents last...21 February 2022